Automatic irrigation is an innovative solution that optimizes water usage, reduces manual labor, and ensures that plants receive the right amount of water at the right time. This article will explore the benefits of automatic irrigation, provide practical examples, and offer a step-by-step guide to building an automatic irrigation system with modern technology like Raspberry Pi and mobile apps.

Benefits of Automatic Irrigation
- Water Efficiency: Scheduling irrigation avoids waste and ensures plants receive the right amount of moisture.
- Time Savings: Automating irrigation eliminates the need for manual watering, freeing up time for other tasks.
- Improved Plant Health: Regular and well-timed irrigation promotes healthy growth, reduces water stress, and prevents diseases.
- Remote Monitoring: With connected systems, irrigation can be controlled and adjusted from anywhere using a smartphone.
Examples of Automatic Irrigation Systems
Example 1: Basic Timer-Based Irrigation System
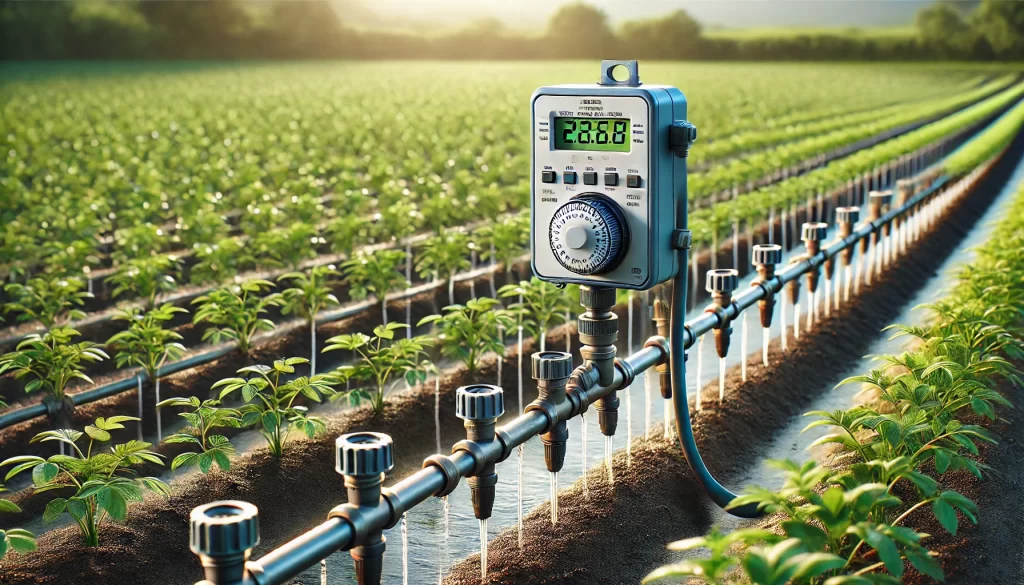
A simple system uses a mechanical or digital timer connected to a solenoid valve. The timer opens the valve at predefined times, allowing water to flow for a specific period.
Example 2: Smart System with Raspberry Pi
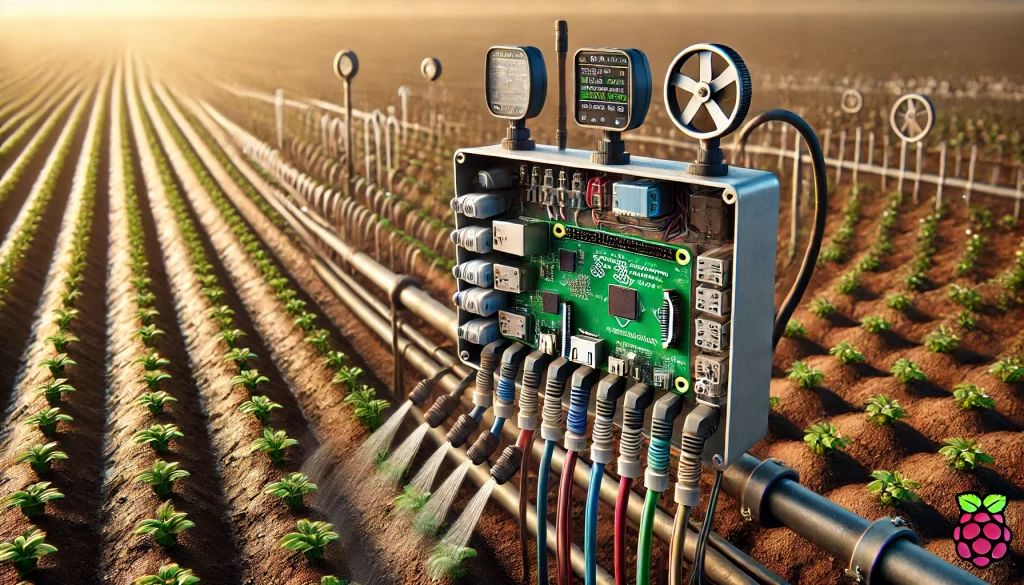
An advanced system uses a Raspberry Pi to control irrigation smartly. This system allows scheduling, adjusting irrigation based on weather data or moisture sensors, and controlling everything from a mobile app.
Guide to Building an Automatic Irrigation System with Raspberry Pi
Below is a basic guide to building an automatic irrigation system using a Raspberry Pi. This system will be designed to activate irrigation at certain times and can be controlled from a mobile app.
Required Materials
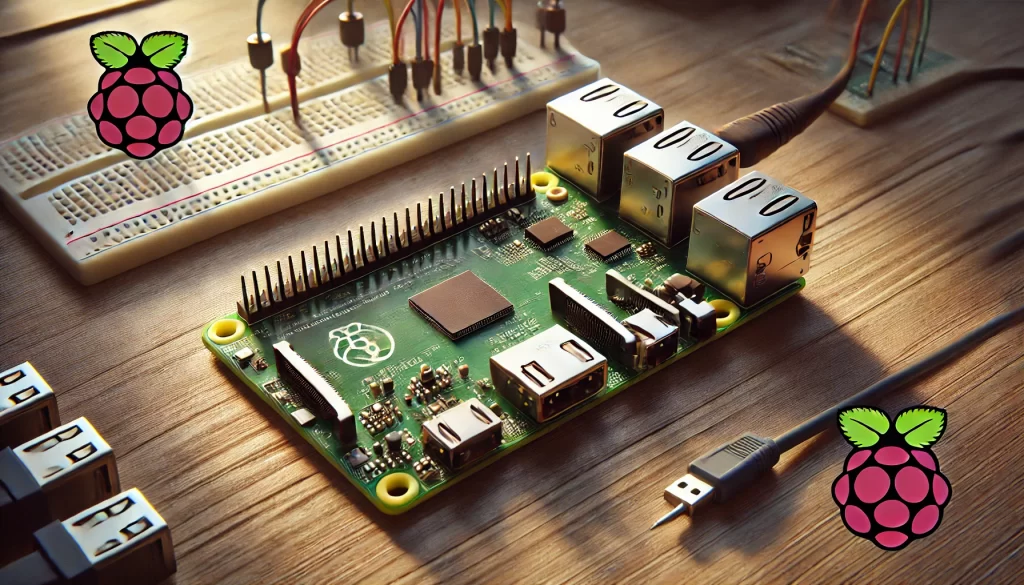
- Raspberry Pi (model 3, 4, or similar)
- Power supply for Raspberry Pi
- MicroSD card with Raspbian OS installed
- Soil moisture sensor
- Solenoid valve to control water flow
- Relay to control the valve
- Irrigation tubing, hoses, and other necessary accessories
- Wires, resistors, and protoboard or soldering tools
- Internet connection for Raspberry Pi (Wi-Fi or Ethernet)
Steps to Follow
1. Setting Up the Raspberry Pi
- Install the Raspbian operating system on the microSD card and set up the Raspberry Pi.
- Connect it to the Wi-Fi or Ethernet network.
- Update the system and set up SSH for remote access (optional but useful for adjustments without a physical monitor).
2. Installing Necessary Software
- Install a lightweight web server (e.g., Flask in Python) to create an API or interface to control from a mobile app.
- Set up libraries to access the Raspberry Pi’s GPIO pins, necessary to control the solenoid valve and read the moisture sensor.
3. Connecting the Hardware
- Moisture Sensor: Connect the moisture sensor to the GPIO pins of the Raspberry Pi to read the soil moisture. Ensure you calibrate the sensor following the manufacturer’s instructions.
- Solenoid Valve and Relay: Connect the solenoid valve to a relay, and connect the relay to a GPIO pin of the Raspberry Pi. The relay will act as a switch to open or close the water flow.
- Check that all connections are secure and that the Raspberry Pi can control the relay and read the sensor properly.
4. Programming the System
a. Basic Python Program to Control Irrigation:
Create a Python script that:
- Reads data from the moisture sensor.
- Controls the solenoid valve through the relay.
- Schedules irrigation times and allows manual control.
import RPi.GPIO as GPIO
import time
from flask import Flask, request

app = Flask(__name__)

# Pin setup
RELAY_PIN = 17
MOISTURE_SENSOR_PIN = 27

GPIO.setmode(GPIO.BCM)
GPIO.setup(RELAY_PIN, GPIO.OUT)

def read_moisture():
    # Implement actual moisture sensor reading
    return 50  # Example value

@app.route('/irrigate', methods=['POST'])
def irrigate():
    duration = int(request.form.get('duration', 10))  # duration in seconds
    GPIO.output(RELAY_PIN, GPIO.HIGH)  # Turn on valve
    time.sleep(duration)
    GPIO.output(RELAY_PIN, GPIO.LOW)   # Turn off valve
    return f'Irrigation completed for {duration} seconds.'

if __name__ == '__main__':
    app.run(host='0.0.0.0', port=5000)
b. Scheduling the Program:
Use cron on the Raspberry Pi to schedule the irrigation script at specific times.
- Open the crontab:
crontab -e - Add a line to execute the irrigation script at the desired time:
0 6 * * * /usr/bin/python3 /home/pi/irrigate.pyThis will schedule irrigation daily at 6 AM.
5. Control from a Mobile App
To control the system from an app:
- Develop a mobile app or use tools like Node-RED, Home Assistant, or IoT platforms that can send HTTP requests to the API created in Flask.
- The app will send POST requests to the Raspberry Pi’s IP address, for example,
http://with parameters such as the irrigation duration.:5000/irrigate - Set up the app to display the current moisture sensor status and allow manual irrigation scheduling if needed.
6. Testing and Adjustments
- Test the system to ensure the valve opens and closes correctly and the sensor reports accurate data.
- Adjust irrigation times and moisture thresholds according to the specific needs of your plants.
- Ensure the mobile app communicates correctly with the Raspberry Pi server and performs the expected actions.
Final Considerations
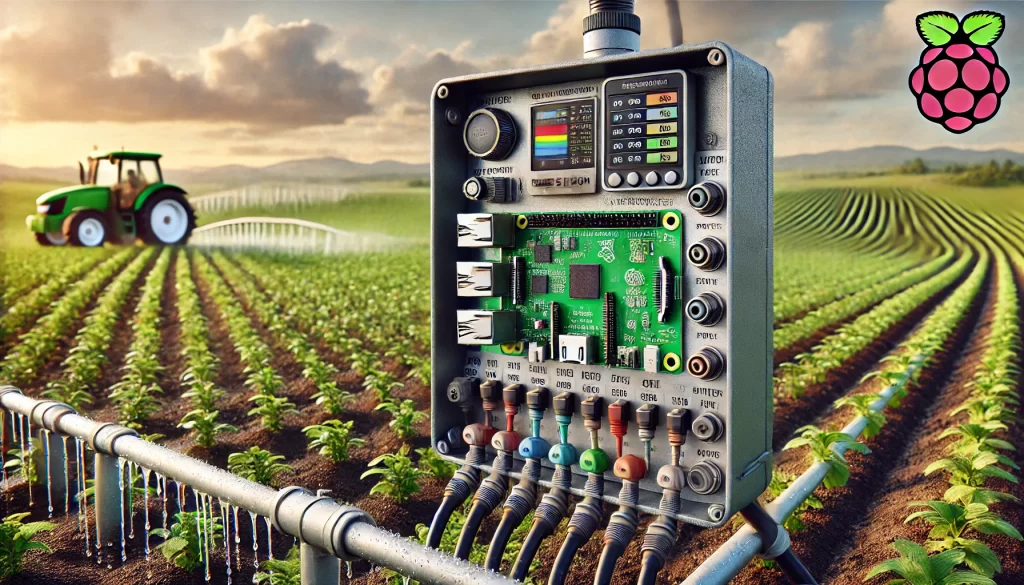
Implementing an automatic irrigation system with Raspberry Pi and mobile app control not only improves water efficiency but also allows for remote and personalized management of crops. With some technical knowledge and experimentation, farmers and enthusiasts can create irrigation solutions tailored to their specific needs, integrating emerging technologies for more sustainable and precise agriculture.
By following this guide and taking advantage of the examples provided, you can design an automatic irrigation system that improves the health of your plants, saves resources, and simplifies crop care. Welcome to the future of smart irrigation!
 AgronoBlog – Agriculture Blog


