 AgronoBlog – Agriculture Blog
 Tomato (Solanum lycopersicum) is one of the most important horticultural crops worldwide due to its versatility in cooking and its nutritional benefits. To achieve a successful crop, it is essential to consider several aspects, from choosing the variety to post-harvest management practices.

Step-by-Step Guide to Planting Tomatoes
Growing tomatoes in a garden is a rewarding and relatively simple activity if certain steps are followed and attention is paid to the needs of the crop. Below is a detailed guide to planting tomatoes in a garden:
1. Variety Selection
- Tomato Types: Determinate (limited growth) and indeterminate (continuous growth).
- Purpose: Choose the variety according to the desired use (salads, sauces, etc.).
2. Soil Preparation
- Cleaning: Remove debris from previous crops and weeds.
- Tillage: Plow and rake the soil to improve its structure and aeration.
- Ideal pH: 6.0 to 6.8. You can adjust the pH if necessary by adding lime (for acidic soils) or sulfur (for alkaline soils).
- Amendments: Add compost or well-decomposed manure to improve soil fertility.
3. Seeding in Seedbeds
- Filling: Fill seed trays with germination substrate.
- Seeding: Place one seed in each cell and lightly cover it with substrate.
- Watering: Water gently to maintain moisture without waterlogging.
- Conditions: Keep the seedbeds in a warm place with indirect light.
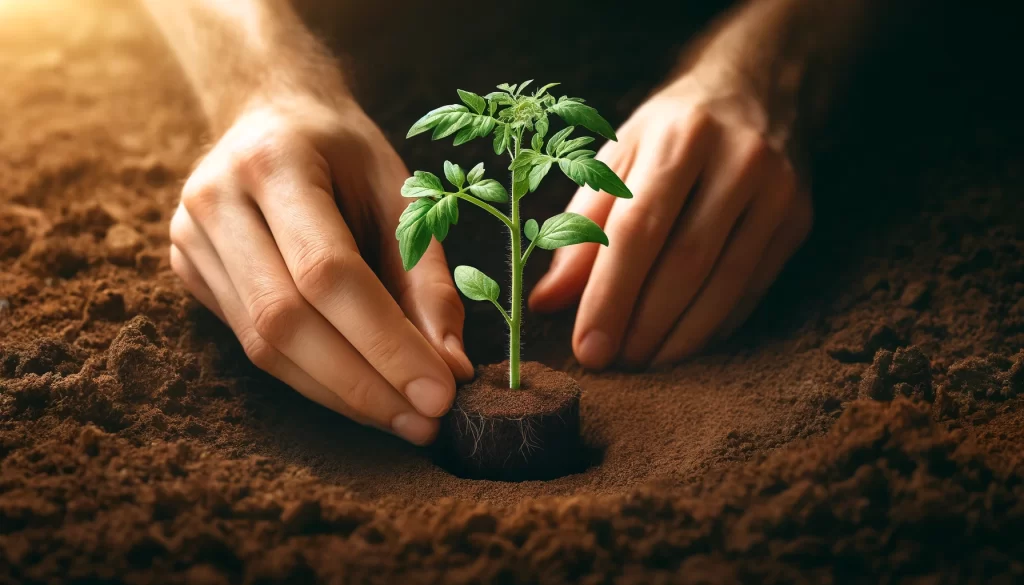
4. Transplanting to the Field
- Hardening: Before transplanting, gradually expose the seedlings to the outdoors for 7-10 days.
- Hole Preparation: Make holes about 10-15 cm deep, spaced 50-60 cm between plants and 1-1.2 m between rows.
- Transplanting: Place the seedlings in the holes, ensuring the root ball is well covered and firm the soil around it.
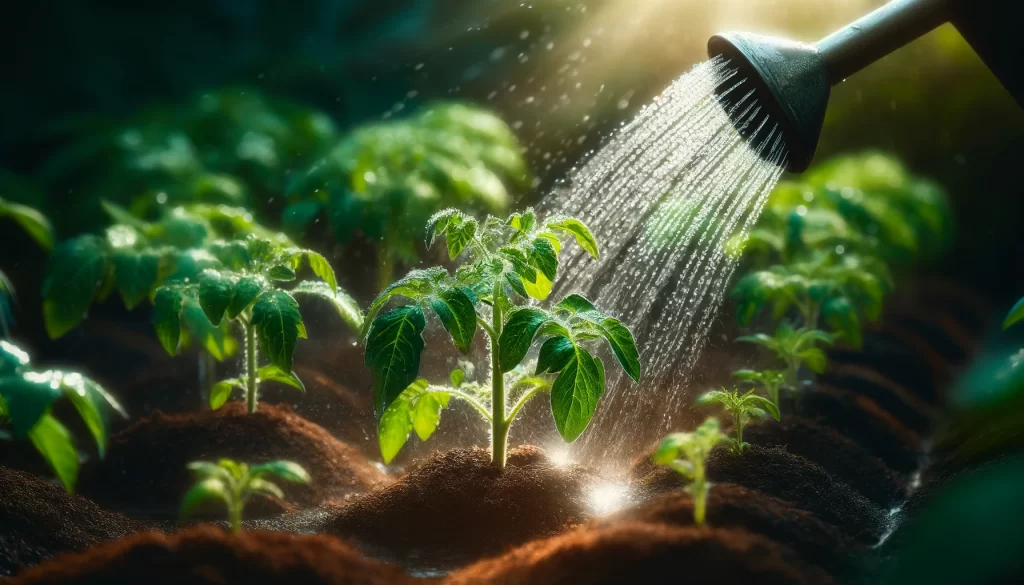
5. Watering
- Frequency: Keep the soil evenly moist, avoiding both drought and waterlogging.
- Methods: Drip irrigation is ideal for preventing diseases and ensuring adequate hydration. If you don’t have a drip irrigation system, water by hand early in the morning or late in the afternoon.
6. Fertilization
- Fertilizers: Use a balanced formula (N-P-K) according to soil analysis.
- Application: Apply a slow-release fertilizer at transplanting and reinforce with liquid or granular fertilizers during the growing season.
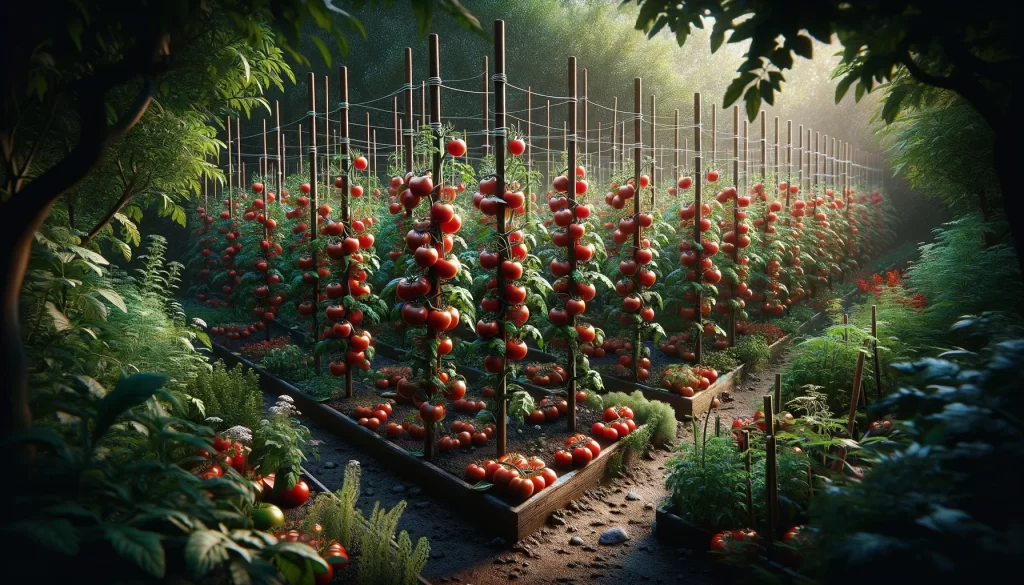
7. Staking and Pruning
- Staking: Install stakes, cages, or trellises to keep the plants upright.
- Pruning: Remove side shoots (suckers) to focus growth on the main fruits. This is especially important for indeterminate varieties.
8. Pest and Disease Control
- Monitoring: Regularly inspect plants for signs of pests or diseases.
- Preventive Measures: Use insect netting, traps, and companion planting such as basil or marigolds to repel pests.
- Treatments: Apply biological treatments (such as neem oil) or chemicals according to technical recommendations. Maintain organic control whenever possible for a healthy garden.
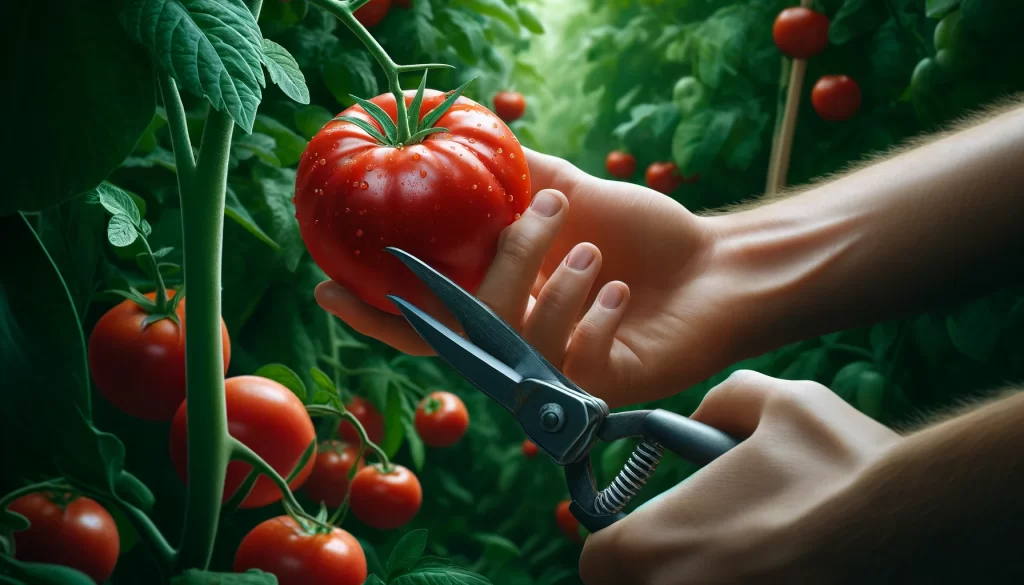
9. Harvesting
- Maturity: Harvest tomatoes when they are at their peak maturity, depending on the final use.
- Method: Harvest carefully to avoid mechanical damage. Use pruning shears or clippers to avoid pulling the plant.
10. Post-Harvest
- Storage: Keep the fruits in a cool, well-ventilated place.
- Temperature: Ideally between 10-12°C to extend the shelf life of tomatoes.
- Sorting: Sort tomatoes by size and quality for different uses (immediate consumption, preservation, etc.).
Detailed Step-by-Step
Soil Preparation
- Cleaning: Remove debris from previous crops and weeds.
- Tillage: Plow and rake the soil to improve its structure and aeration.
- Leveling: Ensure the ground is level to prevent waterlogging.
Seeding in Seedbeds
- Filling: Fill seed trays with substrate.
- Seeding: Place one seed in each cell and lightly cover it with substrate.
- Watering: Water gently to maintain moisture without waterlogging.
Transplanting to the Field
- Hardening: Before transplanting, gradually expose the seedlings to the outdoors.
- Hole Preparation: Make holes about 10-15 cm deep.
- Transplanting: Place the seedlings in the holes, ensuring the root ball is well covered.
Crop Maintenance
- Watering: Maintain a consistent watering schedule, avoiding both drought and waterlogging.
- Fertilization: Apply fertilizers according to plant development and soil analysis recommendations.
- Staking and Pruning: Install stakes and prune suckers regularly.
Pest and Disease Control
- Monitoring: Regularly inspect plants for signs of pests or diseases.
- Preventive Measures: Use insect netting and traps to monitor pests.
- Treatments: Apply biological or chemical treatments according to technical recommendations.
Harvesting and Post-Harvest
- Harvesting: Harvest the fruits carefully, preferably in the early morning hours.
- Sorting: Sort tomatoes by size and quality.
- Storage: Store tomatoes under proper conditions to avoid post-harvest losses.
Step-by-Step Guide to Making Tomato Preserves
Making tomato preserves at home is an excellent way to make the most of your harvest and enjoy fresh tomatoes all year round. Here is a detailed guide to preparing tomato preserves:
Necessary Materials
- Fresh tomatoes
- Glass jars with airtight lids
- Large pot for sterilizing jars
- Pot for blanching tomatoes
- Large pot for the preserve
- Knife
- Ladle
- Lemon juice or citric acid (optional)
- Salt (optional)
- Clean cloth
- Jar tongs
- Funnel (optional)
Step-by-Step
1. Tomato Preparation
- Selection: Choose ripe, healthy tomatoes.
- Washing: Wash the tomatoes in cold water to remove dirt and impurities.
- Blanching: Make a cross on the base of each tomato with a knife and immerse them in boiling water for 30-60 seconds until the skin begins to peel away.
- Cooling: Transfer the tomatoes to a container with cold water to stop the cooking process.
- Peeling: Peel the tomatoes carefully removing the skin.
2. Jar Preparation
- Sterilization: Wash the jars and lids with hot water and soap. Rinse them well.
- Boiling: Place the jars and lids in a large pot of water and boil them for at least 10 minutes to sterilize them. Keep them in the hot water until ready to use.
3. Filling the Jars
- Chopping: Cut the tomatoes into pieces or leave them whole, as preferred.
- Filling: Fill the jars with the peeled tomatoes, leaving about 1 cm of space at the top.
- Lemon Juice/Citric Acid: Add 1 tablespoon of lemon juice or 1/4 teaspoon of citric acid per half liter of tomatoes to increase acidity (optional).
- Salt: Add a pinch of salt to enhance flavor (optional).
- Air Bubble Removal: Use a spatula or knife to remove air bubbles inside the jar.
4. Sealing the Jars
- Cleaning: Clean the rims of the jars with a clean cloth to ensure there are no residues that could prevent sealing.
- Lid: Place the sterilized lids on the jars and close them tightly.
5. Processing the Jars
- Water Bath: Place the jars in a large pot with hot water (make sure the water completely covers the jars) and boil them for 35-45 minutes for half-liter jars and 45-55 minutes for one-liter jars.
- Cooling: Remove the jars from the water with tongs and place them on a clean cloth to cool at room temperature.
6. Storage
- Seal Check: Once cool, check that the lids are properly sealed (the lid should not move when pressed).
- Labeling: Label the jars with the preservation date.
- Storage: Store the jars in a cool, dark, and dry place. The preserves can last up to a year if stored properly.
Additional Tips
- Tomato Varieties: Meaty varieties like Roma tomatoes are ideal for preserves.
- Spices: You can add herbs and spices to taste (such as basil, garlic, or bay leaves) to add more flavor to the preserves.
- Safety: Always make sure to follow good hygiene and sterilization practices to avoid contamination and ensure the safety of preserved foods.
By following this guide, you can enjoy delicious tomatoes all year round, adding flavor and nutrition to your favorite dishes. Enjoy your homemade preserves!