 AgronoBlog – Agriculture Blog
 Jicama, also known as Mexican turnip, is a tuber appreciated for its sweet flavor and crunchy texture, making it an important crop in several regions. To maximize the production and quality of jicama tubers, it is essential to understand the plant’s phenological stages and apply appropriate agricultural practices at each stage. Each phase of jicama development, from sowing and germination to harvest, has specific requirements in terms of soil management, irrigation, fertilization, and pest control. This knowledge allows farmers to optimize their agricultural practices and maximize the productivity of their crops. In this detailed analysis, we will explore the phenological stages of jicama, providing technical descriptions and recommended practices for each phase, with the goal of helping farmers improve the yield and quality of their jicama harvests.
Phenological Stages of Jicama with Best Practices
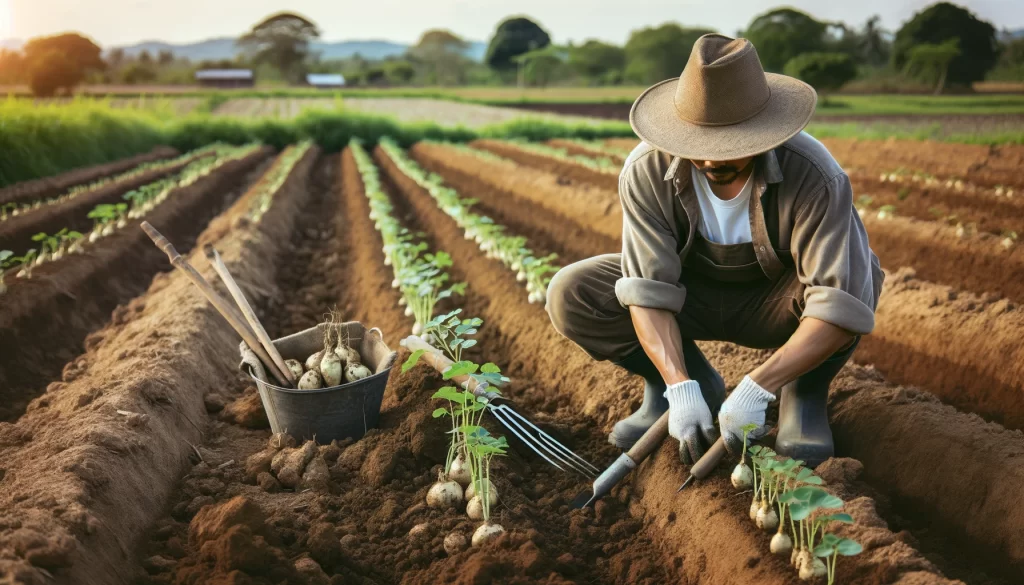
1. Sowing and Germination
Sowing jicama begins with soil preparation, which should be well-drained, loose, and rich in organic matter. Seeds are sown at a depth of 3-5 cm and spaced 30-45 cm apart, with 75-90 cm between rows. Germination can take between 10 and 14 days, depending on soil temperature, which should be maintained between 20 and 30°C. During this period, it is crucial to keep the soil moist but not waterlogged to ensure uniform seedling emergence.
Best Practices:
- Use high-quality seeds and ensure even sowing.
- Prepare the soil adequately, ensuring a loose texture and good drainage.
- Maintain consistent soil moisture during germination.
- Protect young seedlings from pests and diseases with preventive measures.
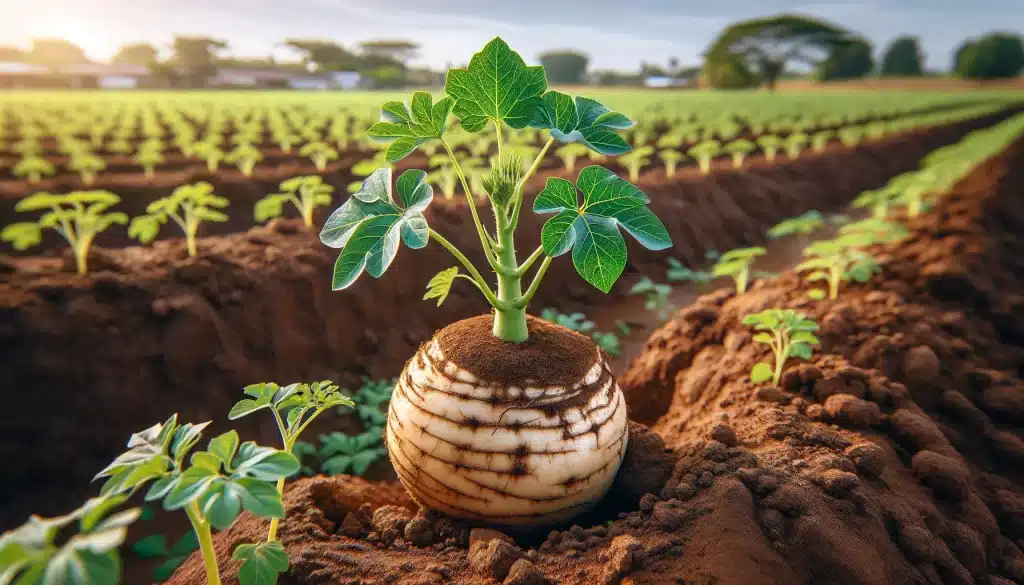
2. Initial Vegetative Development
In this phase, which lasts approximately 30 to 60 days, jicama seedlings develop their first true leaves and begin to establish a more robust root system. Regular irrigation is necessary to ensure continuous growth and avoid water stress. It is important to provide essential nutrients, especially nitrogen (N) and phosphorus (P), to support foliar and root growth. Additionally, weed control is essential to reduce competition for nutrients and water.
Best Practices:
- Apply fertilizers rich in nitrogen and phosphorus.
- Conduct regular irrigations, adjusted to the needs of the seedlings.
- Control weeds through manual weeding or appropriate herbicides.
- Monitor and control pests and diseases preventively.
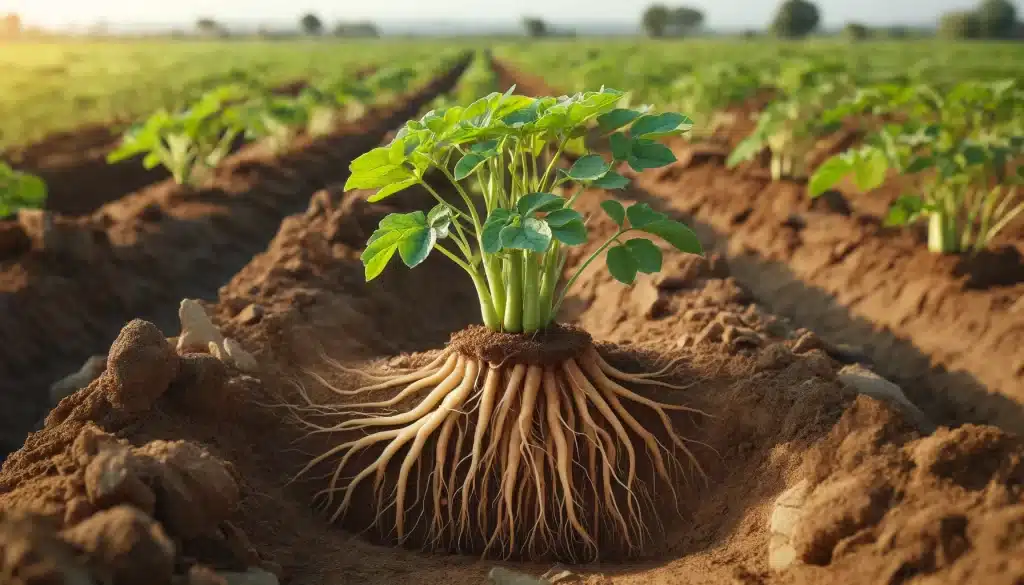
3. Root Development and Tuber Formation
During the next 60 to 150 days, jicama roots begin to thicken and form tubers, which are the edible part of the plant. Potassium (K) becomes essential in this stage to promote thickening and tuber quality. It is advisable to apply potassium-rich fertilizers and continue with adequate irrigation, ensuring that the soil does not dry out completely between waterings. Pest and disease control should be rigorous, as growing roots are vulnerable to various pathogens and pests.
Best Practices:
- Apply potassium-rich fertilizers to support tuber development.
- Maintain consistent and adequate irrigation to avoid moisture fluctuations.
- Continuously monitor and control pests and diseases, using biological or chemical methods as necessary.
4. Tuber Maturation
In this phase, which lasts approximately 150 to 180 days, jicama tubers reach their optimal size and weight. The plant reduces its vegetative growth and redirects energy towards tuber thickening. It is crucial to reduce irrigation to avoid excess moisture that could damage mature tubers. Pest and disease monitoring should continue, although the need for fertilization decreases in this stage.
Best Practices:
- Reduce irrigation to avoid excess moisture.
- Continue monitoring and controlling pests and diseases.
- Reduce fertilization, focusing on crop maintenance.
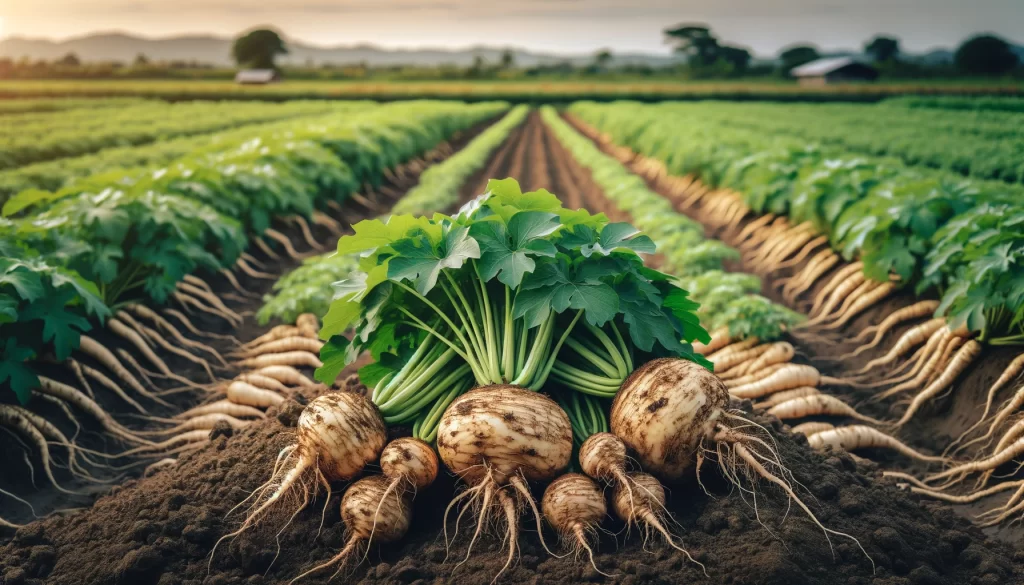
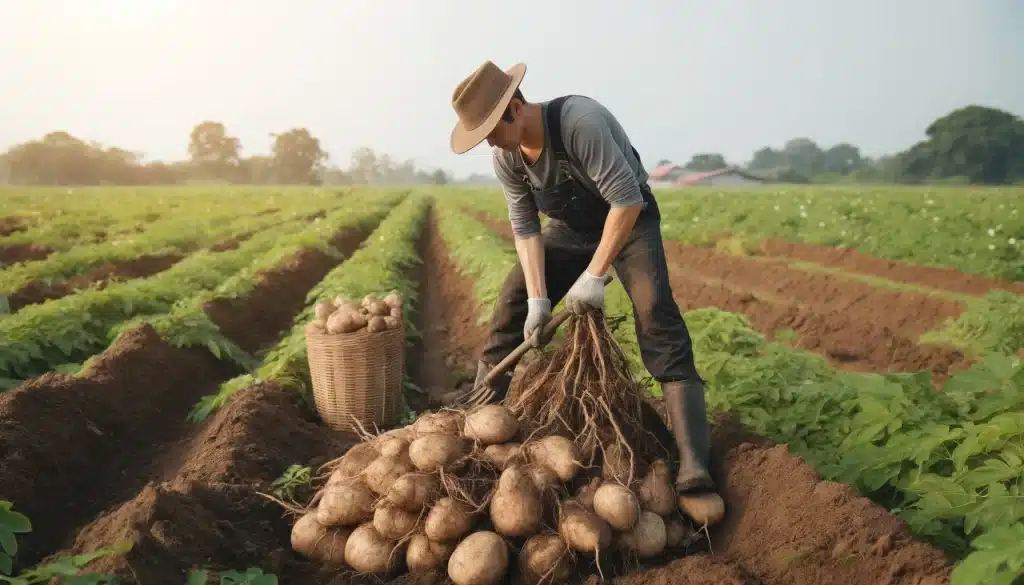
5. Harvest
Jicama harvesting takes place between 150 and 180 days after sowing, depending on the variety and climatic conditions. The optimal harvest time should be chosen when the tubers have reached their ideal size and color. Harvesting is done manually or with specialized machinery, taking care not to damage the tubers. Subsequently, the tubers should be cleaned and, if necessary, cured in a dry, ventilated place before storage or processing.
Best Practices:
- Determine the optimal harvest time.
- Manual or mechanized harvesting, avoiding tuber damage.
- Clean and cure the tubers before storage or processing.
Implementing these best practices at each stage of the jicama’s life cycle is essential to maximize yield and quality. Each phase has its own challenges and requirements, and attention to these details can make a significant difference in the success of the harvest.
Phenological Stages of Jicama, Estimated Duration in Days of Each Stage, and Nutrient Recommendations per Hectare
| Phenological Stage | Duration (days) | Nutrient Recommendation (kg/ha) |
|---|---|---|
| Sowing and Germination | 10-14 | N: 40-60, P: 20-30, K: 20-30 |
| Initial Vegetative Development | 30-60 | N: 60-80, P: 40-60, K: 30-50 |
| Root Development and Tuber Formation | 60-150 | N: 40-60, P: 30-40, K: 60-80 |
| Tuber Maturation | 150-180 | N: 20-30, P: 20-30, K: 40-50 |
| Harvest | 180-210 | N/A |